How to Clean Technical Pens
14th April 2023
2023-04-14
How to Clean Technical Pens
Broad Canvas
https://www.broad-canvas.com/img/broadcanvas_logo.svg
If you clean and take care of your technical pens, they can last for years, so it's worth treating them well from the off.
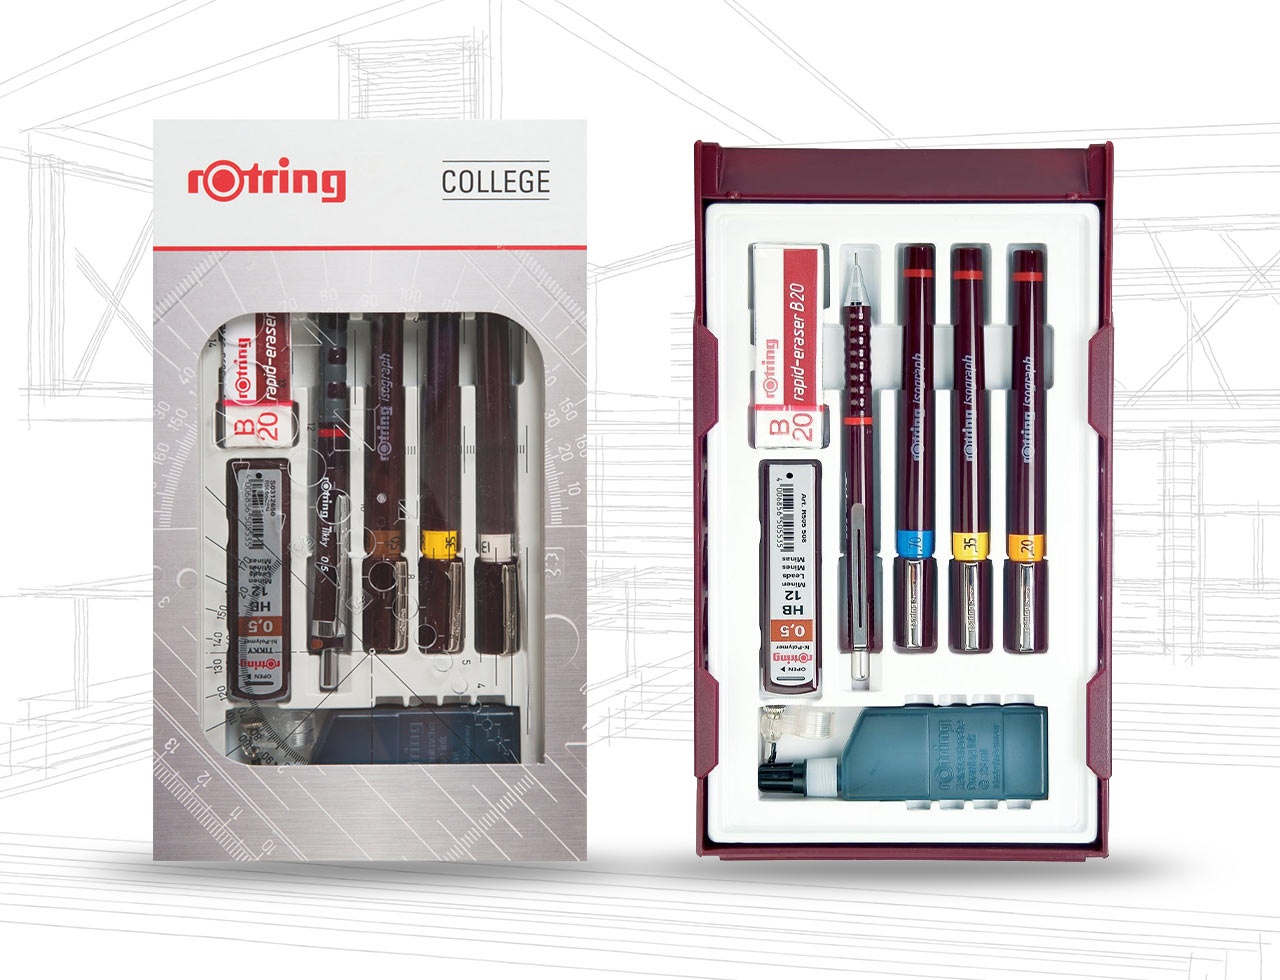
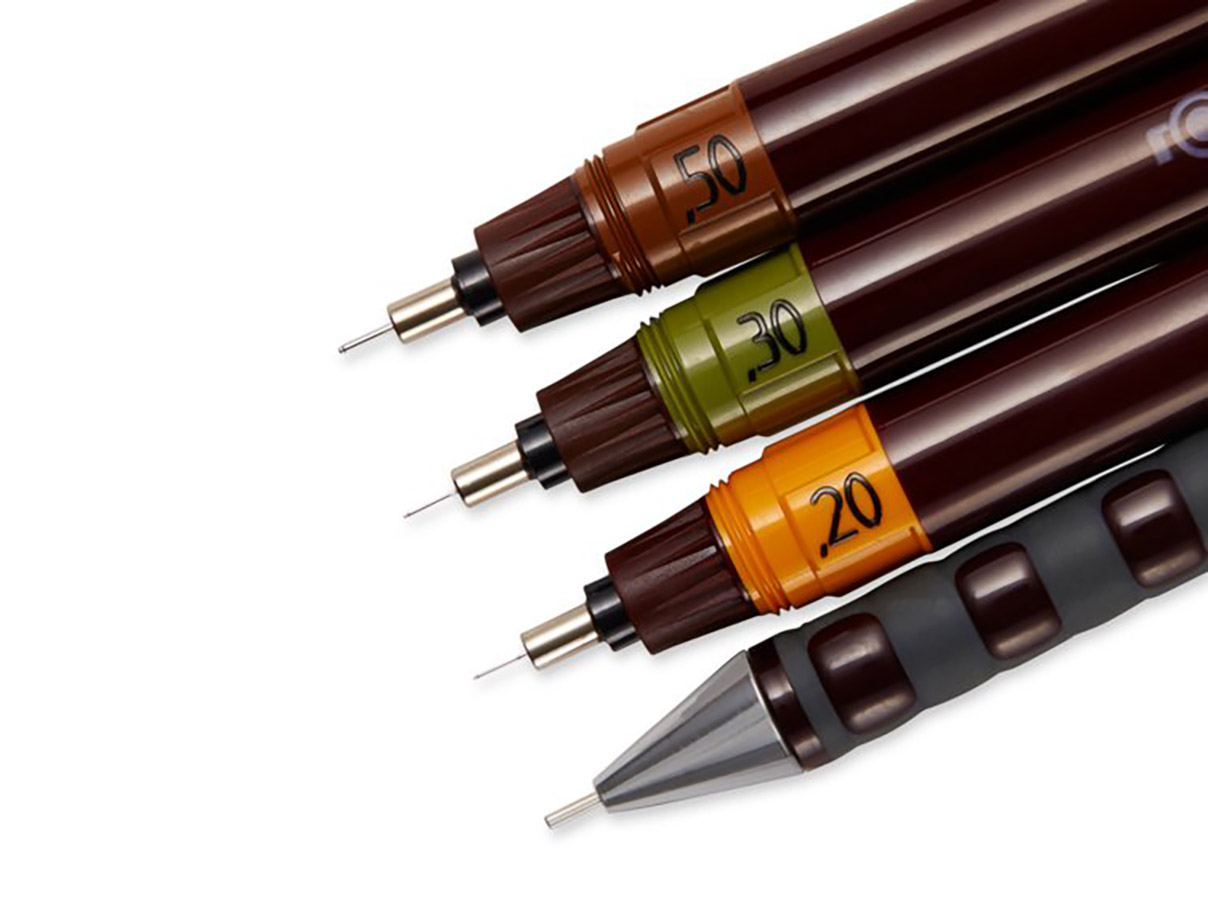
Here at Broad Canvas we stock various technical pens, including the Rotring Isograph, Rotring Rapidograph and the Aristo MG1. We also have replacement nibs and ink in various colours.
Technical pens are great for drawing as they’re easy to use and provide smooth movement, but a drawback is that they can clog up with ink and dust, especially if they haven’t been used in a while.
Below we'll show you how to unblock, clean and store your technical pens so that they can last a lifetime.
How to unclog your technical pens:
Hold the pen vertically, with the nib at the top.
- Tap the base of the pen on a hard surface, such as your desk or tabletop.
- Dip the nib of the pen into pen-cleaning solution.
- Wipe the nib of the pen with a clean dry cloth.
It’s a good idea to complete this process after you finish a drawing and before you recap the pen. It could keep your technical pens clog-free for months or even years.
How to properly clean your techncial pens
Let's dive right in with what you'll need: 2 empty yogurt pots / cleaning bulb / "key" (which should come with your pen) / cotton buds / toothbrush / cleaning fluid / paper towels.
Step 1: Examine the pen. Look for dust, loose debris, blockages and general damage.
Step 2: Separate the mechanism and ink reservoir. Unscrew the pen mechanism from its housing then also remove the ink reservoir by gently pulling it away from the connector part of the mechanism. Do this over a sink or paper towels in case of wet ink splashes or dry debris which can also stain.
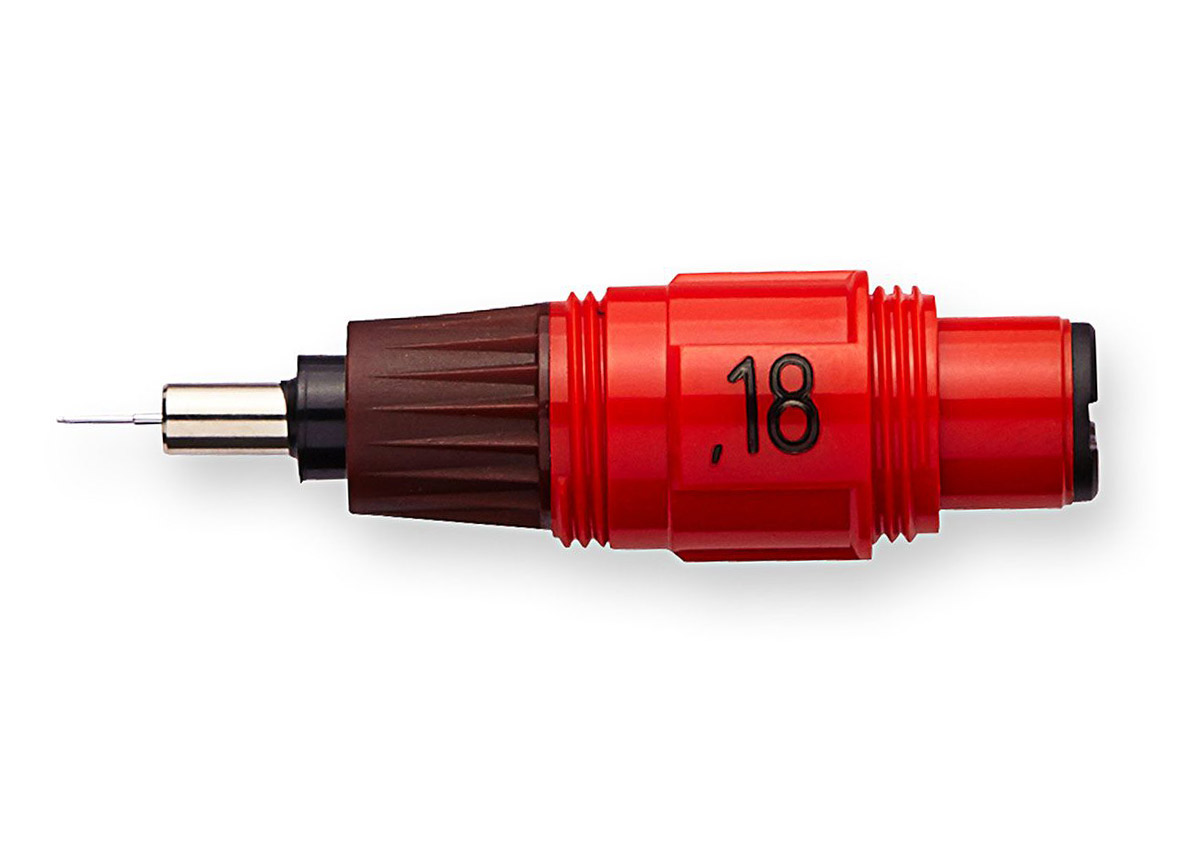
Step 3: Separate the 2 mechanism parts. Take the supplied key and slide it onto the top of the pen (over the nib). By gently turning this it should unscrew the nib from the connector too. If it won't turn then try immersing it in cleaning solution, preferably overnight.
Step 4: Rinse & clean. Carefully rinse off all the parts in the sink without soap (as this will gunk it up again) until water runs clear. Also gently scrub any gunk from the housing. Use the squeezy pressure cleaning bulb by screwing the mechanism into it, then squeeze in and out 5-6 times immesrsed in cleaning liquid in your first yoghurt pot. Transfer to the other pot which should have clean water in it and squeeze again until clean. Use the cotton bud to clean out the ink reservoir, rinse and dry.
Step 5: Refill & assemble. add your new ink and screw eveyrthing back together carefully. Us the pen again to draw out any linger water or cleaning solution.
General maintenance advice for technical pens
- To store your technical pen for optimum use, seal it with its cap and keep it layed horizontally whenever possible.
- The nib and cap should be cleaned periodically. You can use professional cleaner fluid to clean the different parts of the pen.
- When cleaning a rOtring Isograph pen, pull-and-twist off the push-on sleeve. If the sleeve is stuck fast, you can use the dedicated extractor in the cap.
- After cleaning your technical pen, rinse all of its components with clean water and then dry carefully.
- Never disassemble the drawing nib as this might void any warranty you might have.


